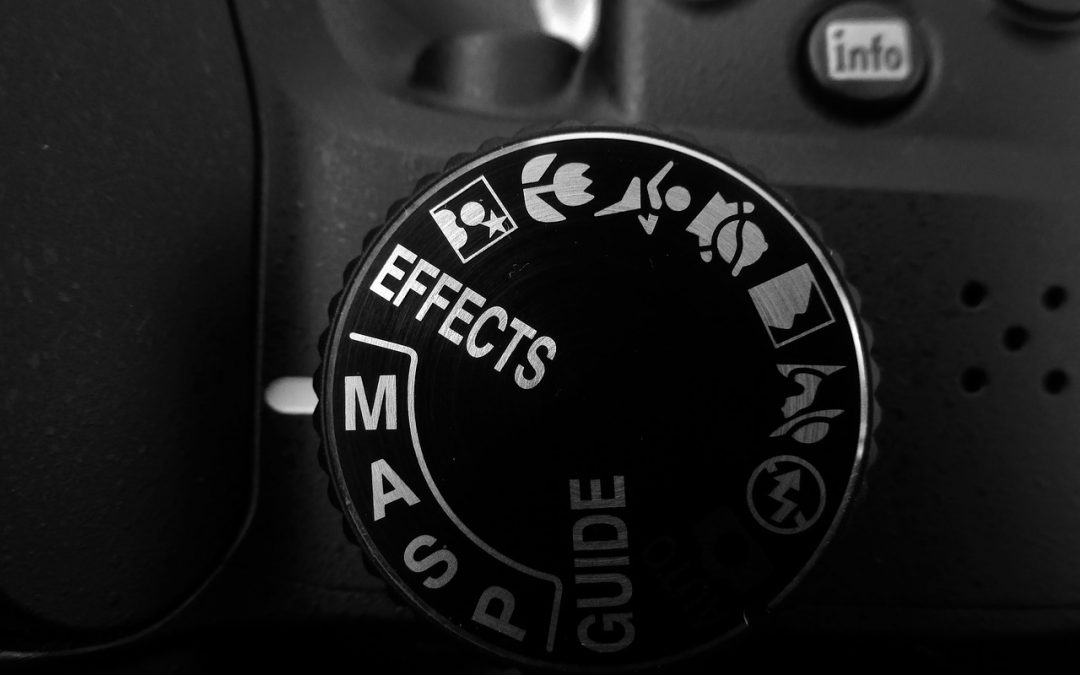
Best Settings
Ok, truth be told, there are no best or even perfect settings for sports photography. The reason for this is that as sports photographers, we shoot in many different lighting conditions. One day we are outside shooting soccer in bright sun and the next day we are in a high school gymnasium with artificial lighting pouring down on us. And each photographer has their own style of shooting.
However, I can give you some general guidelines that you, as a beginner, can follow. These guidelines will work in almost all situations and help you get interesting, detailed photos that you will be proud to show your friends and family.
No Flash
In order to properly use your flash you will have to be relatively close to the action. In many cases this is not the case. That is why we sports photographers buy long lenses. Being far away from the action makes using flash pretty much useless. All you will do is drain your battery and if your batteries are dead, so are you. Figuratively speaking of course.
Yes, there are occasions when you are close to the action such as in basketball or volleyball but many state associations who issue press passes and many schools do not allow flash and when they do, it involves strobes. Strobing a venue is beyond the scope of a beginner. Also, I have heard from many athletes that flash is a distraction..
Fast Shutter Speed
One of the coolest things about sports photography is freezing the action. This is accomplished by using a fast shutter speed. For high school and above start at 1/500 of a second. 1/500 should be good enough to freeze most action. I always take a few test photos to make sure there is no blurring and the photos are sharp. If you are seeing some blurring, bump the shutter speed up until the blurring is removed. It is possible to drop below 1/500 if you are taking more of a static shot. For example in baseball when a pitcher is standing on the mound preparing for the pitch.
Boost Your ISO
When you are shooting outside on a sunny day, it is relatively easy to get shutter speeds at 1/500 of a second. Shooting in darker conditions and still getting your minimum shutter speed can be a struggle. If your aperture is wide open, I will discuss aperture next, and you are strugglling with your shutter speed, boosting your ISO will assist you in this situation.
Using a low ISO is preferred but sometimes you will have to sacrifice a little noise in your photos in order to prevent blurring. So, don’t be afraid to boost your ISO.
Open Up Your Aperture
Opening up your aperture is a great way to allow much needed light into your camera. This will result in higher shutter speeds. A fast lens such as an f/2.8 or even f/4 is preferable. However, as a beginner, you may have had to settle for a cheaper lens that has a maximum aperture of f/5.6.
A side benefit of a wide aperture is the ability to get a much shallower depth of field. Shallow depth of field basically blurs out the background and makes your foreground subject pop.
Use Burst Mode – Selectively
Burst mode can be lots of fun. The sound of that shutter clicking away like crazy can be hypnotic. But, you should use it selectively. Too often beginning sports photographers fall into the habit of “spraying and praying” and hoping at least one of their shots will be a keeper. This is not the best way to learn photography. I personally only use burst mode in certain situations. I enjoy the challenge of capturing the action at just the right spot.
I will use burst mode in track, for example, at the start of the 100mm dash. The reason I use it here is because the runners start out with their heads down and then quickly raise them up. My goal is to find that perfect photo that shows determined faces and I only have a small window to accomplish this task in. Often I will use burst mode when shooting baseball and softball picthers.
Burst mode also, causes your memory card to will fill up faster and, you will have more photos to edit. So, use it wisely.
Set Your White Balance
This will depend on your camera. I leave my Nikon D7200 in Auto in all conditions and have never had a problem. Shooting outdoors in nice light, auto will work for most cameras. When you move inside and are under artificial lighting, it may be necessary to adjust your white balance manually. You can do this a couple ways one of which includes setting a custom white balance using a gray card or you can try setting your camera to tungsten or incandescent.
Do Not Use Auto Focus
You definitely do not want your camera selecting the focus point. You camera can be tricked by other moving objects in the frame and with sports, there is usually lost of action taking place. You don’t want your camera to focus on, for example in volleyball, the net when you wanted the setter in focus.
Start by selecting single-point focusing. This way you know whatever is in the center of the viewfinder, is what will be in focus. Also setting your camera to Continuous Focus will increase your odds of capturing some great shots.
Final Words
These are some basic tips that will get the beginner sports photography a few steps closer to increasing keepers. I would also recommend reading your manual and always take test shots before the start of the real action. And don’t worry, after a few thousand shots, selecting the proper settings will come naturally. You will be able to walk into any event and nail your settings within just a few shots.
If you haven’t already, pick up my FREE “Guide to Shooting Sports in Low Light Situations”.

